California Club Sandwich

I have never been a huge fan of clubs, but I figured I’d try this anyway cause it just looks so yummy, and it didn’t disappoint. I think it’s the sour dough bread that make this sandwich so amazing. But all the flavors together were just so so good. I really liked this sandwich too, because sometime at my house it’s like, ok what do we do with our chicken leftovers, and this was a easy yummy alternative to just letting it go bad in the fridge. Enjoy!!

Ingredients

  • 1/2 cup ranch salad dressing
  • 1/4 cup Dijon mustard
  • 8 slices sourdough bread, toasted
  • 4 boneless skinless chicken breast halves, cooked and sliced
  • 1 large tomato, sliced
  • 1 medium ripe avocado, peeled and sliced
  • 12 bacon strips, cooked and drained
Directions

In a small bowl, combine salad dressing and mustard; spread on each slice of bread.

On four slices of bread layer the chicken, tomato, avocado and bacon. Top with remaining bread and serve. Recipe makes enough for 4 sandwiches.
Recipe from The Taste of Home Cookbook

Island In the Sun Cupcakes


This week I’m going to have 3 beach themed cupcakes on here because I’m making the cupcakes for my sister’s wedding, which is on the beach. This is a vanilla cupcake with orange cream cheese frosting. The cupcake is super yummy, but the cream cheese frosting is what makes this to die for! The sand is crushed vanilla wafers, and it has white chocolate flip flops 🙂 I just put the vanilla wafers in my food processor and let it go until the wafers were completely ground down. And I made the flip flops using a chocolate mold.


First melt the chocolate, then I piped the pink strap. When the pink has set a little, I piped in the white chocolate until almost full. Give the mold a good tap against you counter to help the chocolate settle smoothly and to get rid of any air bubbles.

Ingredients

  • 1 1/2 cups self-rising flour
  • 1 1/4 cups all-purpose flour
  • 1 cup (2 sticks) unsalted butter, softened
  • 2 cups sugar
  • 4 large eggs, at room temperature
  • 1 cup milk
  • 1 teaspoon vanilla extract

Directions
Preheat oven to 350 degrees. Line 2 (1/2 cup-12 capacity) muffin tins with cupcake papers. In a small bowl, combine the flours. Set aside.

In a large bowl, on the medium speed of an electric mixer, cream the butter until smooth. Add the sugar gradually and beat until fluffy, about 3 minutes. Add the eggs, 1 at a time, beating well after each addition.

Add the dry ingredients in 3 parts, alternating with the milk and vanilla.

With each addition, beat until the ingredients are incorporated but do not over beat. Using a rubber spatula, scrape down the batter in the bowl to make sure the ingredients are well blended.

Carefully spoon the batter into the cupcake liners, filling them about 3/4 full. Bake for 20 to 25 minutes, or until a cake tester inserted into the center of the cupcake comes out clean.

Cool the cupcakes in tins for 15 minutes. Remove from the tins and cool completely on a wire rack before icing.


Cream Cheese Frosting

  • 8 ounces cream cheese, at room temperature
  • 2 2/3 cups confectioners’ sugar
  • 2 teaspoons heavy cream, at room temperature
  • 3/4 teaspoon vanilla extract
  • 1/4 teaspoon grated orange zest

Frosting Directions


In a standing mixer fitted with the paddle attachment, or with a hand-held electric mixer in a large bowl, mix the cream cheese and sugar on low speed until incorporated. Increase the speed to high, and mix until light and fluffy, about 5 minutes. (Occasionally turn the mixer off, and scrape down the sides of the bowl with a rubber spatula)

Reduce the speed of the miser to low. Add the heavy cream, vanilla, and zest. Raise the speed to high and mix briefly until fluffy (scrape down the bowl occasionally). Store in the refrigerator until somewhat stiff, before using. May be stored in the refrigerator for 3 days.

Recipe from foodnetwork.com

Greek Pasta Bake

This recipe turned out so super yummy! I would have liked a little more sauce with it, but other then that, loved it! I have to admit, as a cattle ranchers daughter, I was a little apprehensive about the ground lamb. But it actually gave the dish a really unique yummy flavor. There is one thing I changed on this recipe, and that is, the recipe said to use 4 ounces of feta cheese to sprinkle on top, which would have been way too much all on top of the pasta. So instead I mixed 3 ounces of the cheese into the pasta/meat mixture, and then used the rest to sprinkle on top. But over all, I would totally recommend this dish to anyone! Enjoy 🙂

Ingredients

  • 1/2 pound ground beef
  • 1/2 pound ground lamb
  • 1 large onion, chopped
  • 4 garlic cloves, minced
  • 3 teaspoons dried oregano
  • 1 teaspoon dried basil
  • 1/2 teaspoon salt
  • 1/4 teaspoon pepper
  • 1/4 teaspoon dried thyme
  • 1 can (15 ounces) tomato sauce
  • 1 can (14 1/2 ounces) diced tomatoes, undrained
  • 1 tablespoon lemon juice
  • 1 teaspoon sugar
  • 1/4 teaspoon ground cinnamon
  • 2 cups uncooked rigatoni or large tube pasta
  • 4 ounces feta cheese, crumbled
Directions
In a large skillet, cook beef and lamb over medium heat until no longer pink; drain. Stir in onion, garlic, oregano, basil, salt, pepper and thyme.
Mix well. Add tomato sauce, tomatoes and lemon juice.
Bring to a boil. Reduce heat; simmer, uncovered, for 20 minutes, stirring occasionally. Stir in the sugar and cinnamon. Simmer, uncovered, 15 minutes longer.
Meanwhile, cook the pasta according to package directions; drain. Stir into meat mixture. Fold in 3/4 feta cheese, saving the remainder to sprinkle over the top. Transfer to a greased 2 qt. baking dish. Sprinkle with cheese.
Bake uncovered at 325 degrees for 15 minutes.
Recipe from The Taste of Home Cookbook

Strawberry Banana Protein Shake

I use this as a meal replacement/weight management drink. It’s super nice and quick when you are on the go, and it’s not one of those meal replacement drinks you have to force down. Whenever I make myself one of these, I end up having to make two batches, one for me, and one for my kiddo’s.

As you can see my toddler sitting, eagerly awaiting his smoothy 🙂 It is super yummy and keeps you full for hours. Plus, it feel like your letting yourself have a treat when really you are watching what your eating, or in this case drinking.

Ingredients

  • 7 frozen or fresh strawberries, if you use fresh strawberries you need to add about 4 or 5 cubes of ice
  • 1 ripe banana
  • 1 scoop vanilla protein powder, like vanilla whey protein, 1 scoop is equal to about 1/2 cup
  • 1/4 cup apple juice
  • 1/4 cup skim milk
  • 1 cup cold water
Directions

Add banana, strawberries, ice if using fresh strawberries, and protein powder to your blender. Then add your milk, apple juice, and water.

Put on the cap and blend until mix is smooth and no clumps remain.
To give you a heads up, home made smoothies have a tendency to separate after a little bit, where the foam will float to the top. So you can actually buy cups at health food stores, like High Health or GNC, that are made to mix your drink after you add it. Basically it’s a cup with a lid and a stirring device inside, designed so you can shake your drink to incorporate it. This is what I use when I’m on the go and want to drink my smoothy slowly, but you can use a water bottle too.
A Food Snots Original

Crackle Cookies

I wanted to try a little something different, and this is a cookie recipe that I haven’t tried before. They turn out pretty good. They weren’t the best cookies I’ve ever tried, but they’re chocolate, so in my book, you can never go wrong with chocolate. The only thing I really didn’t like was, the picture in my cookbook showed that they didn’t flatten out so much. So I was a little disappointed with the appearance after they were done baking. The other downfall was that you have to refrigerate the dough for a while, so make these when you have some time on your hands. My kids had a lot of fun make these with me though. Although it does get a little messy, it’s a lot of fun for kids to get there hands all sugary and roll the dough balls into the powdered sugar. So this recipe was good, just not great. Hope you enjoy and have a great day!!

Ingredients
  • 1 cup sugar
  • 2 eggs
  • 1/4 cup vegetable oil
  • 1/3 cup semisweet chocolate chips, melted and cooled
  • 1 teaspoon vanilla extract
  • 1 cup all-purpose flour
  • 1 teaspoon baking powder
  • 1/4 teaspoon salt
  • confectioners sugar
Directions

In a large mixing bowl, combine the sugar, eggs, oil, chocolate and vanilla. In a separate bowl combine the flour, baking powder and salt.

Gradually add the sugar mixture to the flour mixture and mix well.

Cover and refrigerate dough for at least 2 hours.

Preheat oven to 350 degrees. With sugared hands, shape dough into 1 inch balls. Roll in confectioners’ sugar. Place 2 inches apart on greased baking sheets. Bake for 10-12 minutes or until set.

Remove to wire racks to cool.

Recipe from The Taste of Home Cookbook

Cranberry Broccoli Salad

This recipe is awesome! It’s a great alternative to give a little interest to your dinner party or barbecue. Or even good enough to have with lunch. It’s a little sweet from the cranberries and the cashews give it a nice crunch. The original recipe calls for bacon, which I left out cause it kind of overwhelmed the salad, and it’s perfect without it. Over all this recipe is cool, creamy and super yummy! Enjoy!

Ingredients

  • 4 cups fresh broccoli florets
  • 1/2 to 3/4 cup chopped red onion
  • 1 cup dried cranberries
  • 1/3 cup crumbled cooked bacon
  • 1/2 cup mayonnaise
  • 1/2 cup half & half cream
  • 3 tablespoons sugar
  • 1/2 cup cashews, cut in half
  • 1/3 cup finely shredded sharp cheddar cheese
  • A pinch of salt and pepper
Directions
In a large bowl, combine the broccoli, onion, cranberries and bacon. In a small, bowl combine the mayonnaise, cream and sugar until smooth. Pour over broccoli mixture and toss to coat. Refrigerate until serving.

Recipe at http://www.tasteofhome.com

Chicken Kiev

Dinner time!! And just to prove how yummy this dish was, I actually didn’t have to fight my kids to sit down and eat it. Maybe it’s because it has cereal in it, which is my kids favorite meal! But seriously, I think this is a great alternative to fried chicken. I love comfort foods that have a crunch, but I hate the calories! This way, it’s a good compromise. You still get the crunch and great flavor, but not the greasy calories. And I don’t know about you, but frying chicken at home always just turns out to be a huge mess. And I would consider the flavor of this chicken to be better. Not only does it taste healthier, but it’s refreshing. I don’t know whether to contribute the taste to the parsley, or the chives, or both? But it was amazing! And the butter/garlic stick you put in the center keeps the chicken super moist while also adding additional flavor. For sure a must try recipe!


Ingredients

  • 1/4 cup butter, softened
  • 1 tablespoon minced chives
  • 1 garlic clove, minced
  • 6 boneless skinless chicken breast halves (8 ounces each)
  • 3/4 cup crushed cornflakes
  • 2 tablespoons minced fresh parsley
  • 1/2 teaspoon paprika
  • 1/2 cup buttermilk
  • hot cooked rice, optional
Directions


In a small bowl, combine the butter, chives and garlic. Shape into a 3 inch by 2 inch rectangle. Cover and freeze until firm, about 30 minutes.

Flatten chicken to 1/4 inch thickness. Cut the butter mixture lengthwise into six pieces; place one piece in center of each chicken breast half. Fold short sides over butter; fold long sides over and secure with toothpicks.

In a shallow dish, combine the cornflakes, parsley and paprika. Place buttermilk in another shallow dish. Dip the chicken into buttermilk, then coat evenly with cornflake mixture.

Place chicken seam side down in a greased 13 inch x 9 inch x 2 inch baking dish. Bake, uncovered, at 425 degrees for 35-40 minutes or until no longer pink. Remove toothpicks before serving. Serve over rice if desired.

Recipe from The Taste of Home Cookbook

Mint Brownie Bites

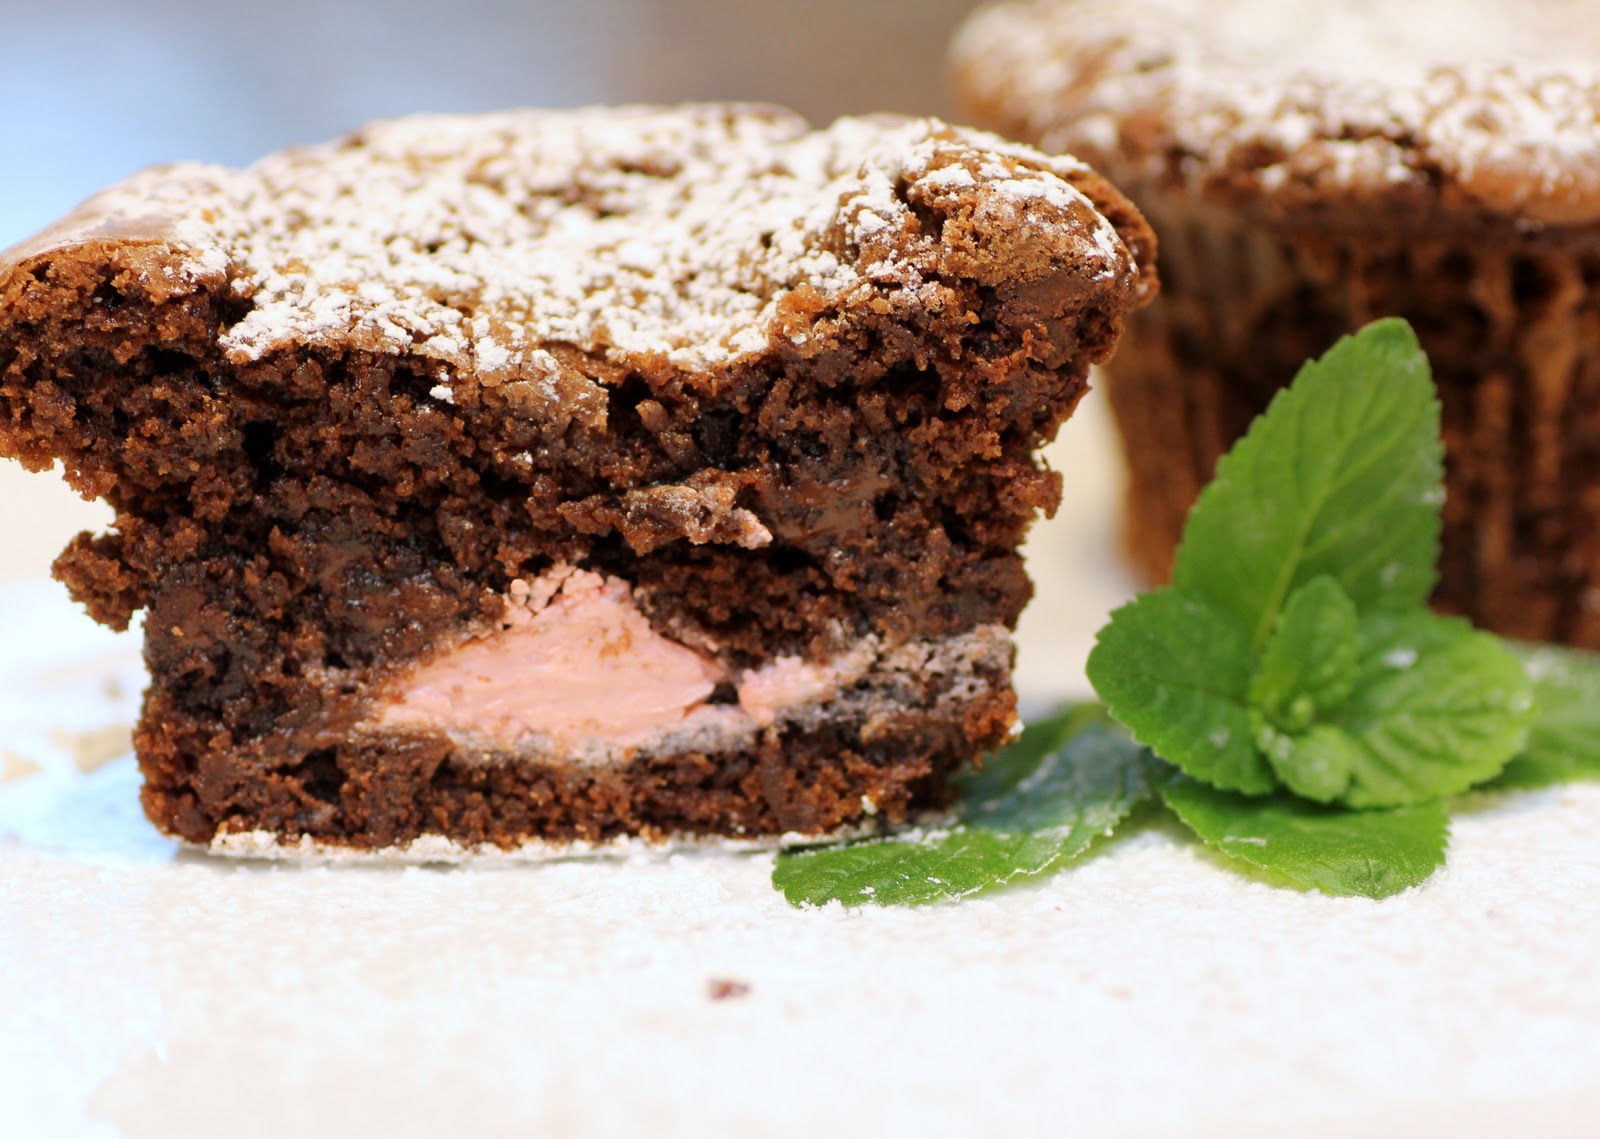
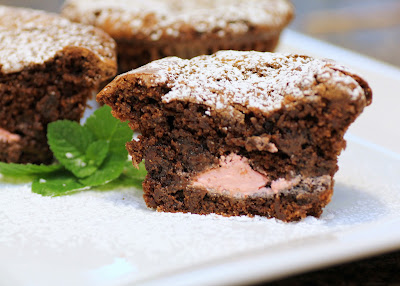
I’m gonna try to put this so very nicely, this recipe had so many flaws!! So I changed some of it because frankly, there were parts that were just flat out confusing. Once I figured out what the recipe was actually saying, it turned out really good! And just to add a little bit of interest, instead of making traditional brownies, I modified the recipe to be kind of like a muffin with a mint hiding in the center. For the mints, I used the smooth & minties from Target. If you don’t know what I’m talking about google “smooth and minties,” and look under images. Basically it’s the colorful mints with the little white sugar pearls on the bottom. Also you are going to keep looking at this recipe and think, “That has got to be a typo! There is no way there is 4 cups of chocolate chips, 5 teaspoons of vanilla extract, and only 1 1/2 cups of flour.” But no, it’s not a typo. I kept reading over this recipe thinking that magically the numbers would change, but it actually turns out. Just know that your  batter is going to be runnier then what you are used to, so don’t freak out. It will all bake up ok. Have fun!
Ingredients
  • 1/2 cup butter, cubed
  • 1 1/2 cups sugar
  • 4 cups semisweet chocolate chips, divided
  • 3 tablespoons water
  • 4 eggs
  • 5 teaspoons vanilla extract
  • 1 1/2 cups all purpose flour
  • 1/2 teaspoon baking soda
  • 1/2 teaspoon salt
  • 50 smooth and minty mints
Directions

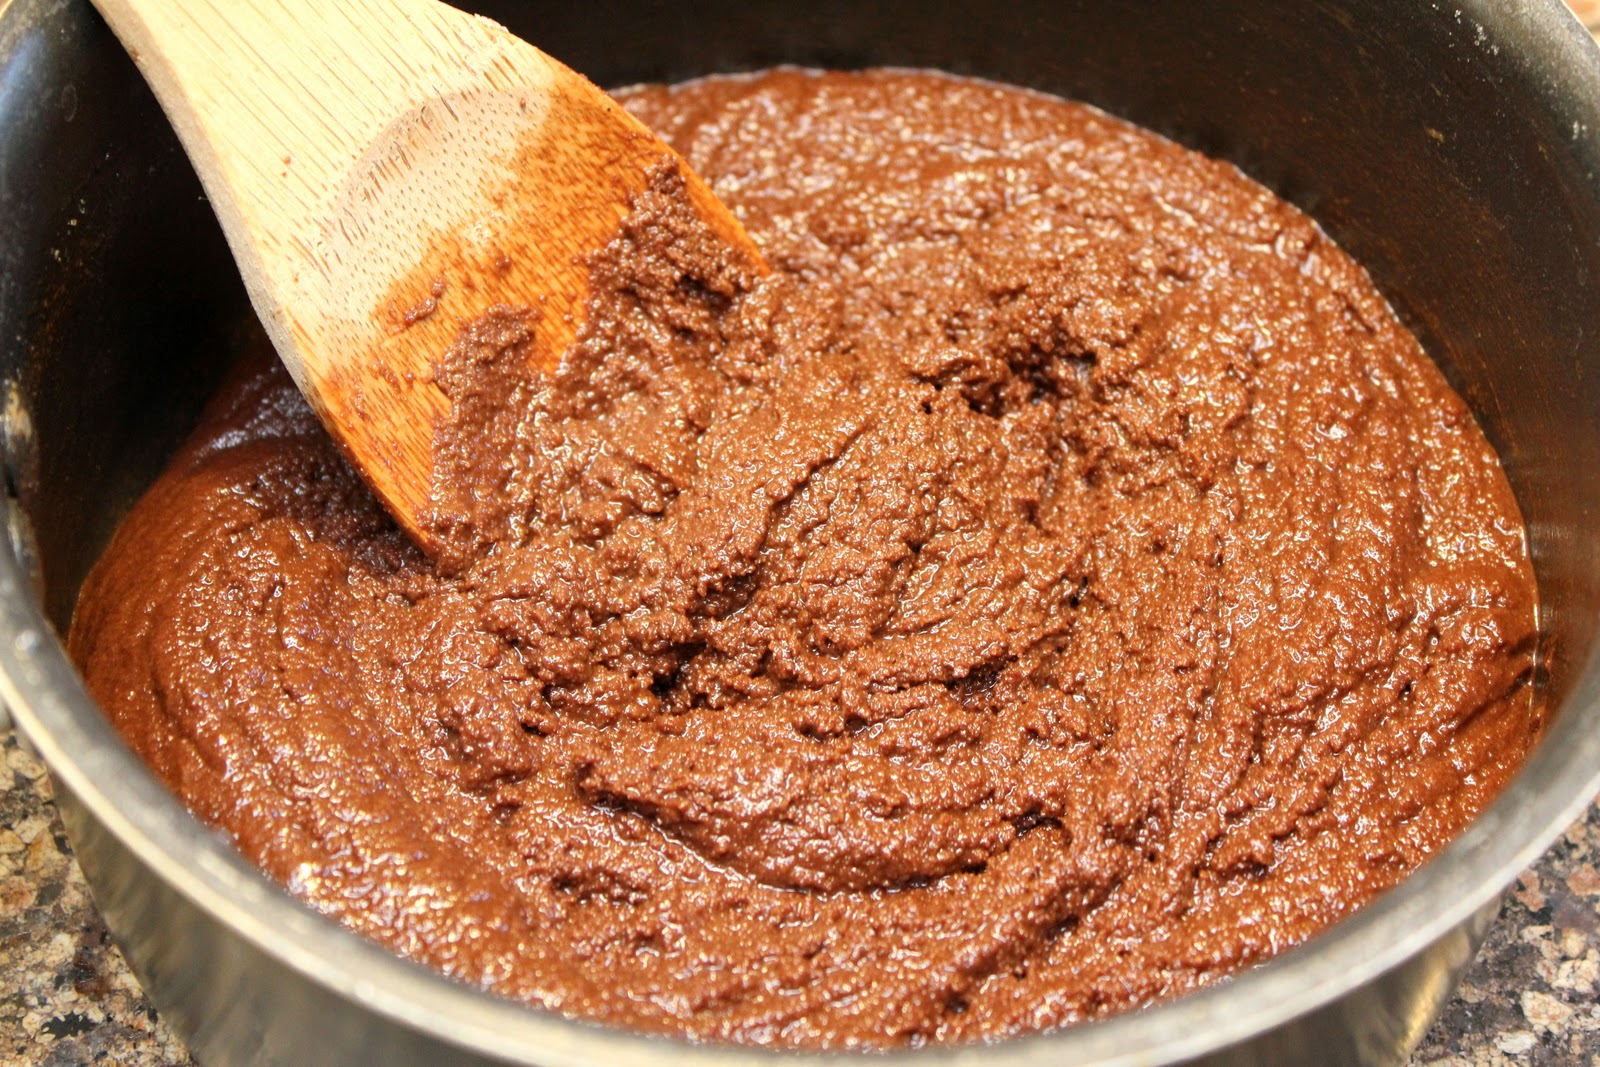
In a medium saucepan, combined butter and sugar over medium heat. Stir until butter has melted and sugar comes so a light bubble around the edges.

Remove from the heat; stir in 2 cups chocolate chips until melted. Transfer to a mixing bowl; beat in water. Add eggs, one at a time, beating well after each addition. Add vanilla and then preheat your oven to 325 degrees.

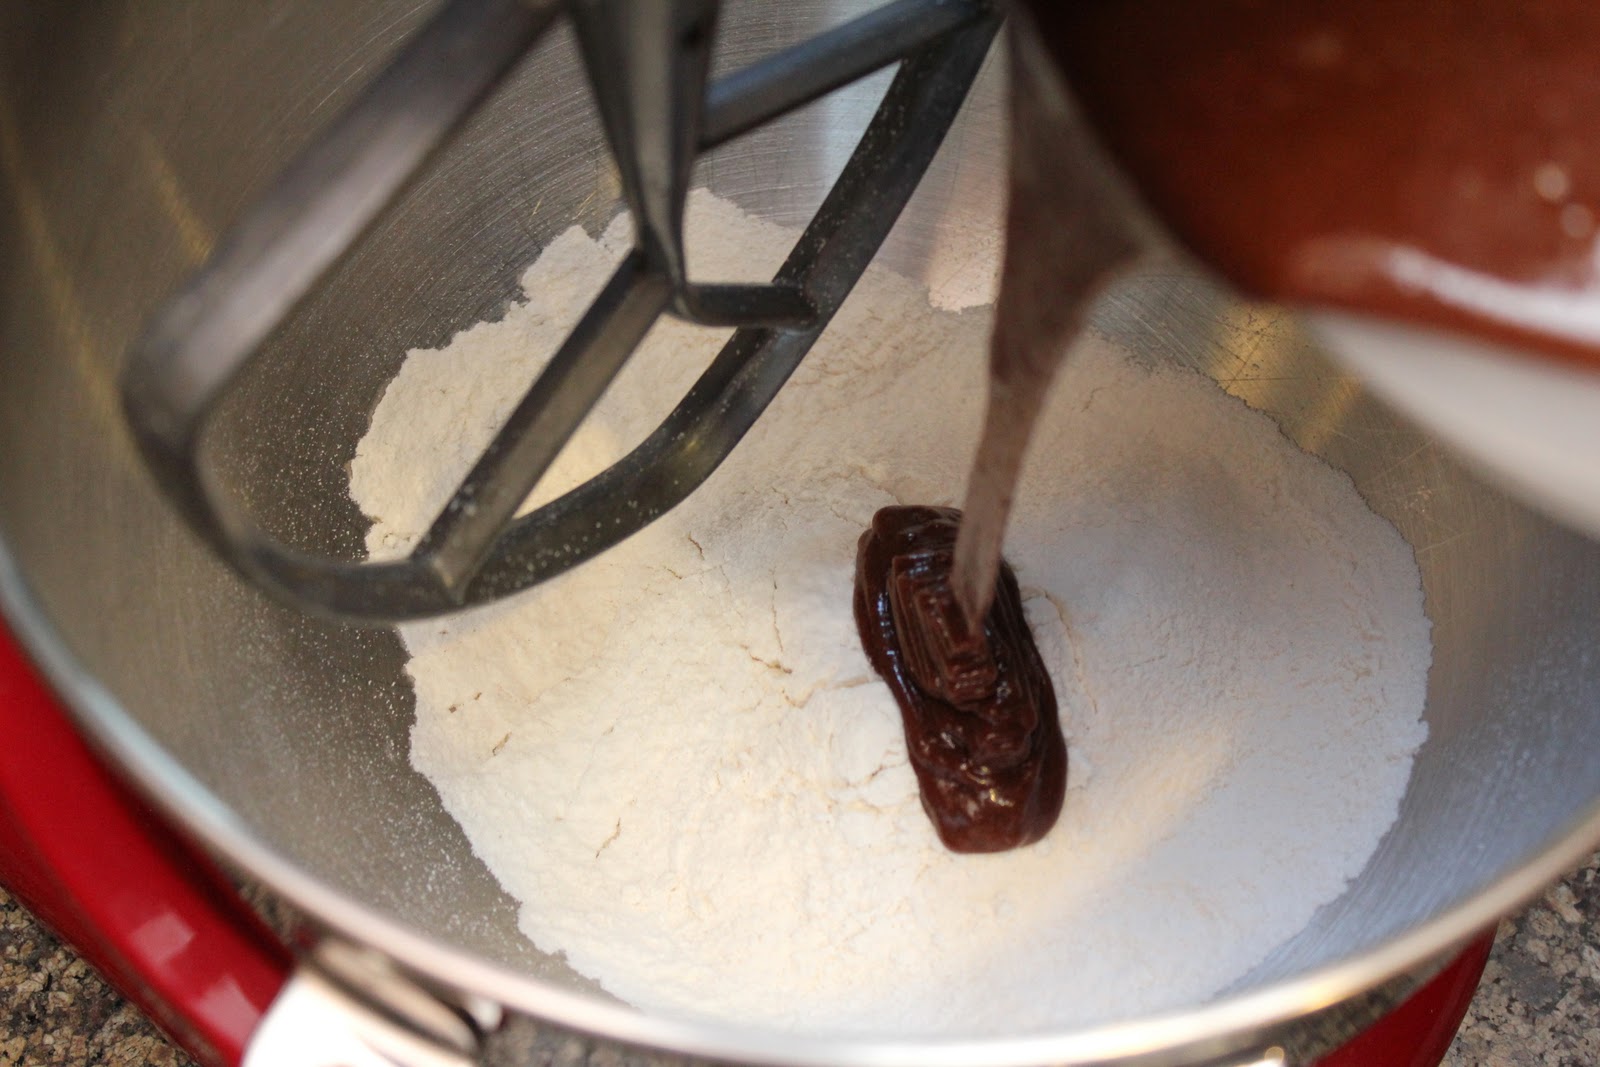
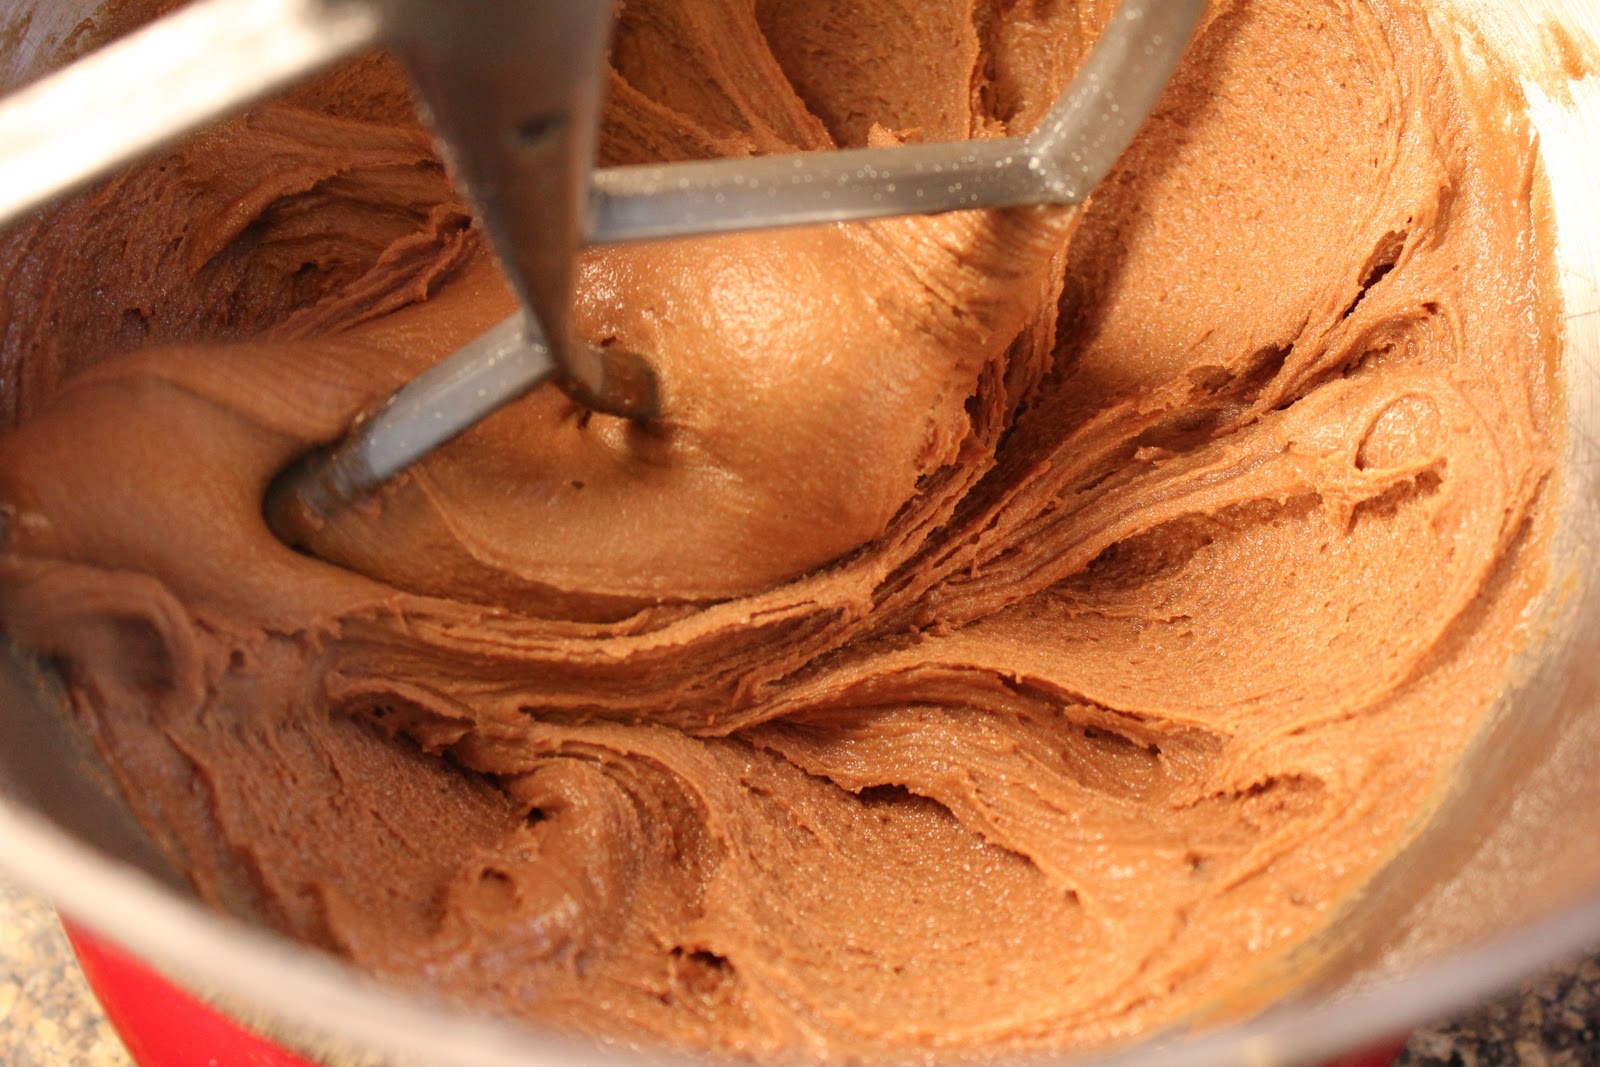
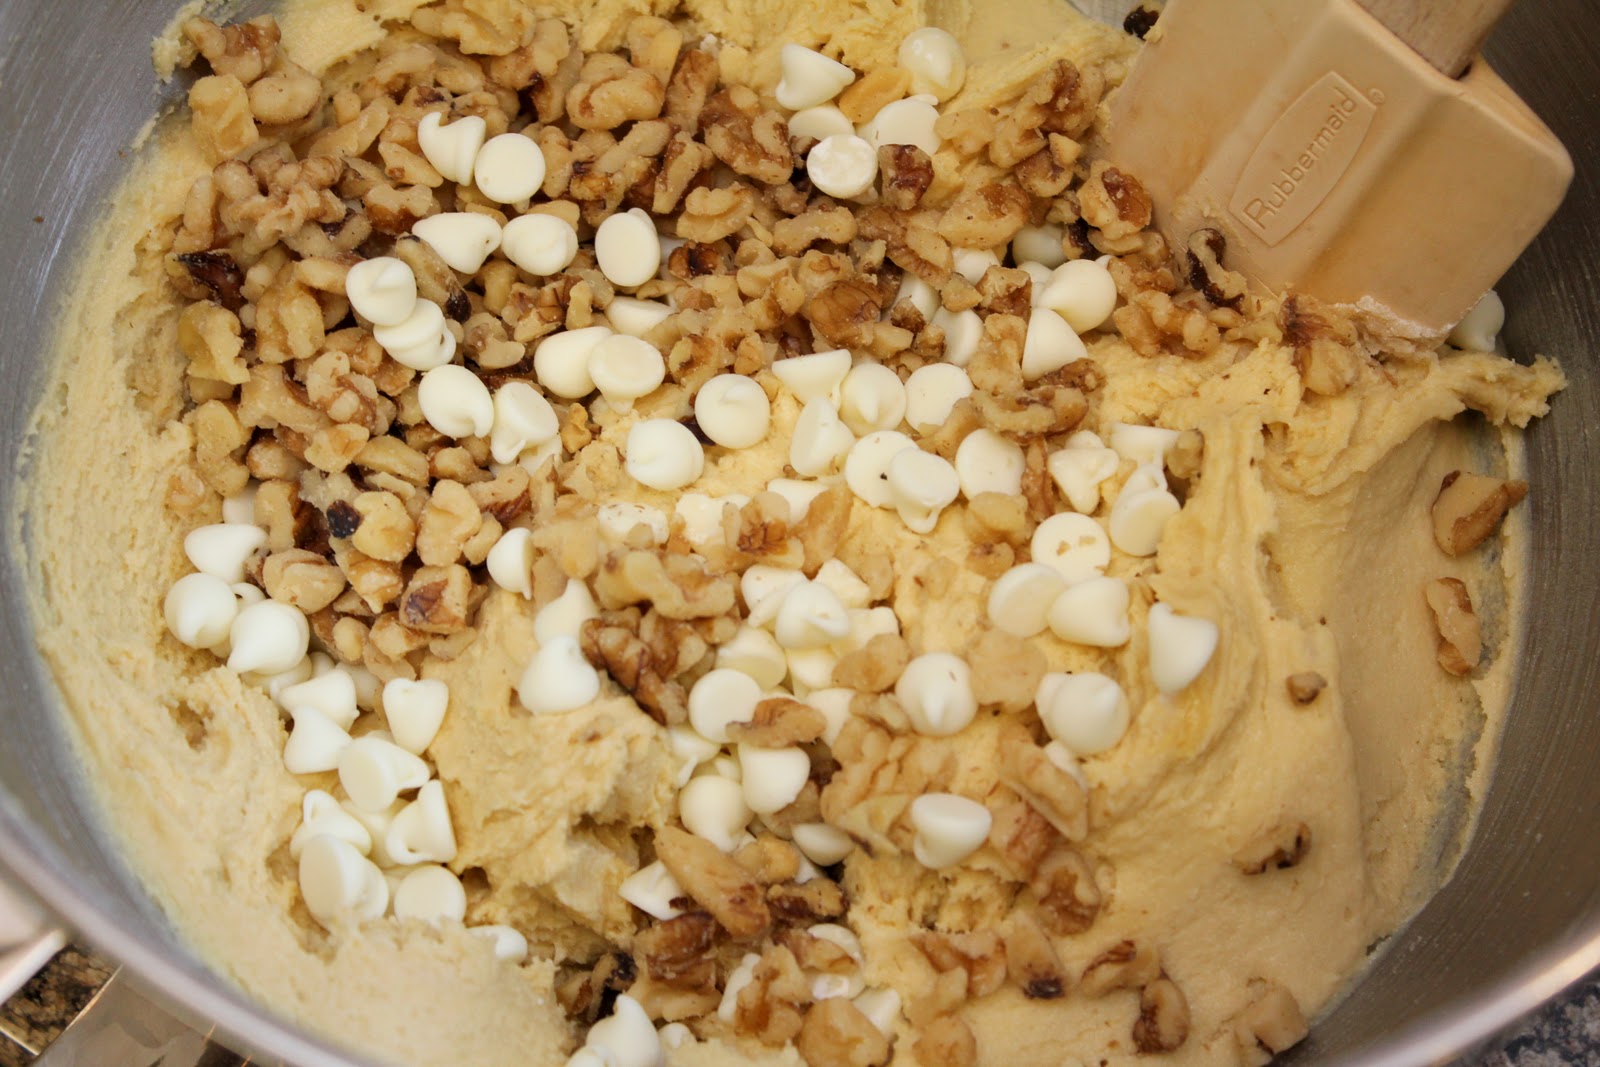
Combine the flour, baking soda and salt; beat into the chocolate mixture until smooth. Stir in remaining 2 cups of chocolate chips.

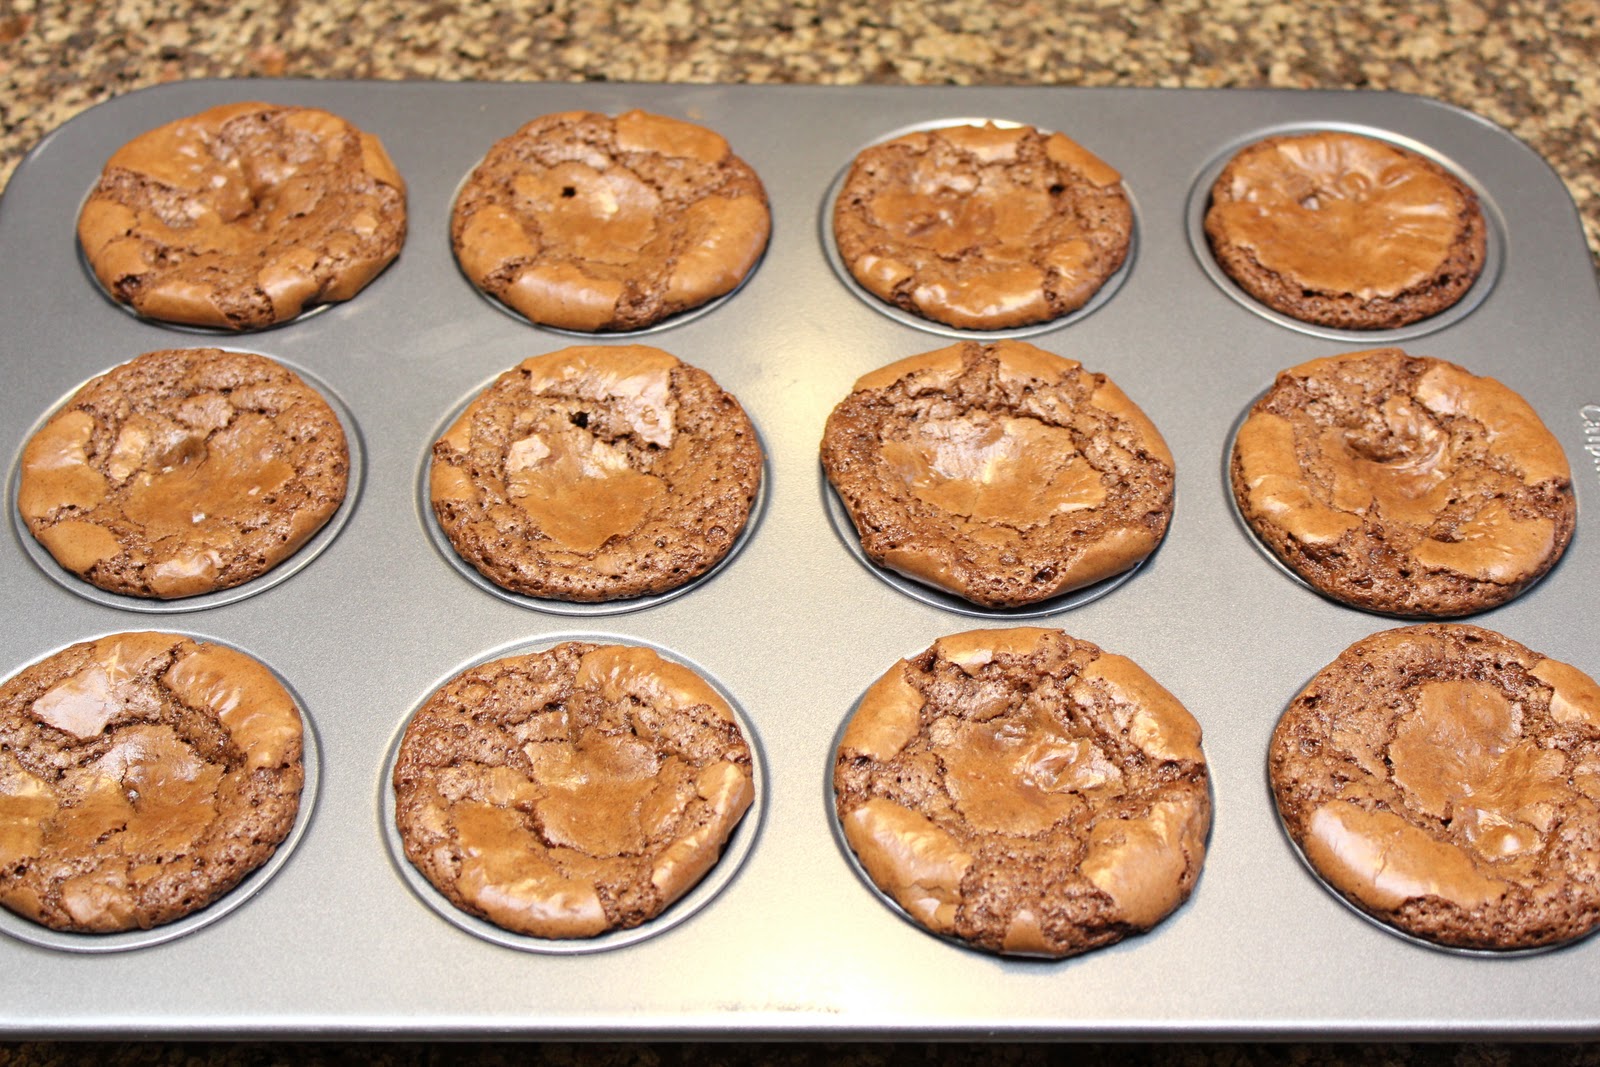
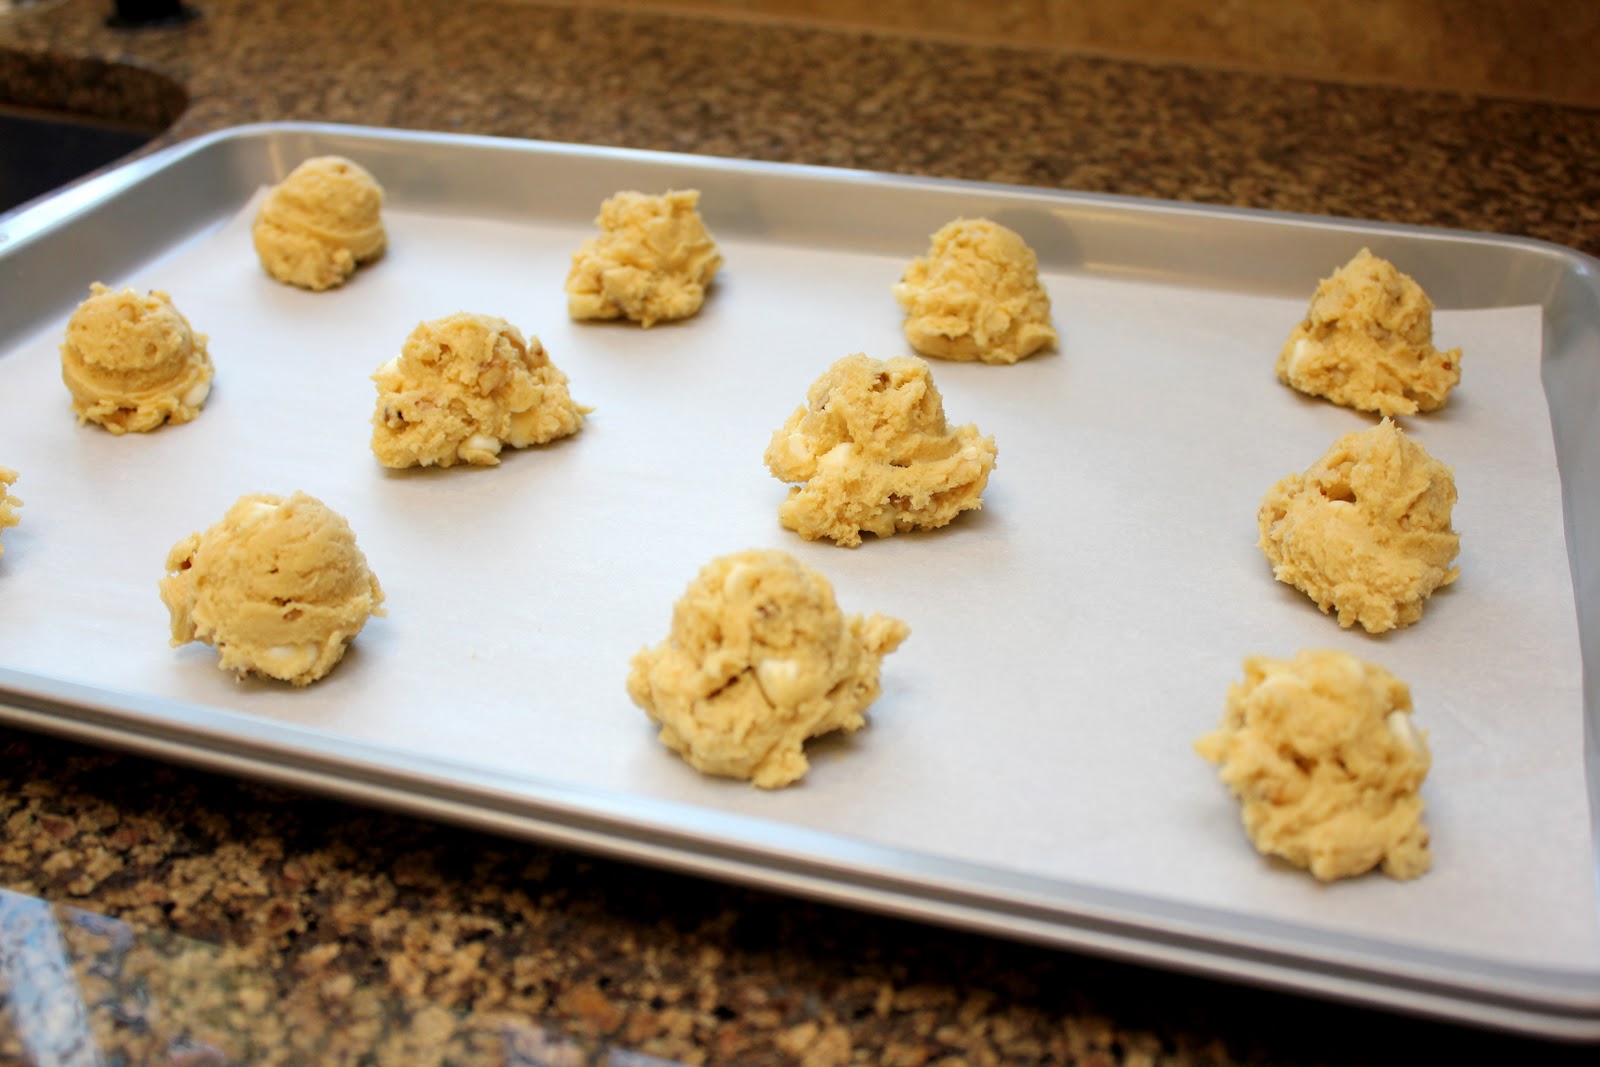
Line cupcake pan with paper fillers. Add a large spoonful of batter to cupcake mold, should fill about 1/4 to 1/3 way full. Add mint to the center and press down lightly. Spoon more batter over the top so that mold it about 1/2 way full and mint is completely covered.

Bake at 325 degrees for about 23 to 25 minutes or until toothpick comes out wet but not gooey. Do not over bake! It is better to have your brownie bites a little under baked then over baked.

Cool on wire rack and sprinkle with powdered sugar before serving.

Brownie recipe from The Taste of Home Cookbook

Bruschetta Chicken

If you are on a diet this recipe is for you! I made this last night for my hubby because he is trying to get in shape/loss weight, and honestly you would never guess that this recipe is suppose to be light on calories. One serving, or one prepared chicken breast, is equal to 358 calories. The only thing I didn’t like about this recipe is that the bread crumbs never got crisp for me. So if I were to make this again, I either wouldn’t have covered with foil the first 20 minutes of baking, or I would have broiled the chicken before adding the tomato mix on top. The flavor is still really good either way, but I just thought the texture overall would have been better if the breading came off toasted, like the toasted french bread original served with bruschetta.

Ingredients

  • 1/2 cup all purpose flour
  • 2 eggs, lightly beaten
  • 4 boneless skinless chicken breast halves (1 pound)
  • 1/4 cup grated Parmesan cheese
  • 1/4 cup dry bread crumbs
  • 1 tablespoon butter, melted
  • 2 large tomatoes, seeded and chopped
  • 3 tablespoons minced fresh basil
  • 2 garlic cloves, minced
  • 1 tablespoon olive oil
  • 1/2 teaspoon salt
  • 1/2 teaspoon pepper
Directions
Preheat oven to 375 degrees. Place flour and eggs in separate shallow bowls.

Dip chicken in flour, then in eggs; place in a greased 13 in. x 9 in. x 2 in. baking dish. Combine the Parmesan cheese, bread crumbs and butter.

Sprinkle over chicken. Loosely cover baking dish with foil. Bake at 375 degrees for 20 minutes. Uncover; bake 5-10 minutes longer or until top is browned. Meanwhile, in a bowl, combine the remaining ingredients. Spoon over the chicken. Return to the oven for 3-5 minutes or until tomato mixture is heated through.

Recipe from Taste of Home Winning Light Recipes

Vanilla Blondie Cookies


Alright, now that we have gotten some savory dishes out of the way, lets get back to the desserts!! The other day when I got home from the the grocery store, I found three random vanilla pudding mix boxes in my collection of groceries. Needless to say, my two year old felt like throwing some miscellaneous items into my shopping cart, and I guys I was a little too distracted at the end of our shopping extravaganza to notice. I don’t know about you, but I’m always a little frazzled by the time we leave the grocery store. And since we don’t eat all that much pudding, I wanted to come up with a yummy recipe that I could incorporate this in as an ingredient. I’m actually really pleased with how these turned out! They are melt in your mouth good! Try them and give me a shout back if you like them 🙂


Ingredients

  • 1 cup softened butter, (2 sticks)
  • 1/2 cup packed brown sugar
  • 1/2 cup sugar
  • 2 eggs
  • 1/2 teaspoon vanilla extract
  • 1 teaspoon vegetable oil
  • 1 3 ounce package Vanilla Cook & Serve Pudding mix, (do not cook! you’ll just need the powder)
  • 2 1/2 cups all purpose flour
  • 1/2 teaspoon salt 
  • 1/2 teaspoon baking powder
  • 1/2 teaspoon baking soda
  • 1 cup chopped walnuts
  • 1 cup white morsels, (if you don’t like white chocolate, substitute for milk chocolate chips)
Directions
Preheat your oven to 350 degrees. Combine butter and sugars in a large mixing bowl until light and fluffy. Then add in your eggs, vanilla extract, and vegetable oil. After mixing all wet ingredients together, add your vanilla pudding mix.
Turn your mixer on high and mix until pudding mix is light and fluffy like this. In a separate bowl sift together flour, salt, baking powder, and baking soda. Then add to the pudding mixture and mix well.
Fold in nuts and white morsels.
Use your cookies scoop and spoon dough about 1 inch apart on a cookie sheet.
One more shot of the delicious cookie dough 🙂
Bake at 350 degrees for 11 to 12 minutes or until the bottoms start to turn a light golden brown. Hope you enjoy 🙂
A Food Snots Original